목표
설치한 ethereum에 smart contract를 개발하고 배포 해본다.
API 서버 구축
먼저 nodejs 기반으로 블록체인과 통신할 API 서버를 구축하자.
node, express 가 사전에 설치되어 있어야 한다.
1
2
npm i node
npm i express
기본 프로젝트를 생성한다. (express [프로젝트명])
1
express api
기본 모듈을 설치해 준다.
1
2
cd api
npm i
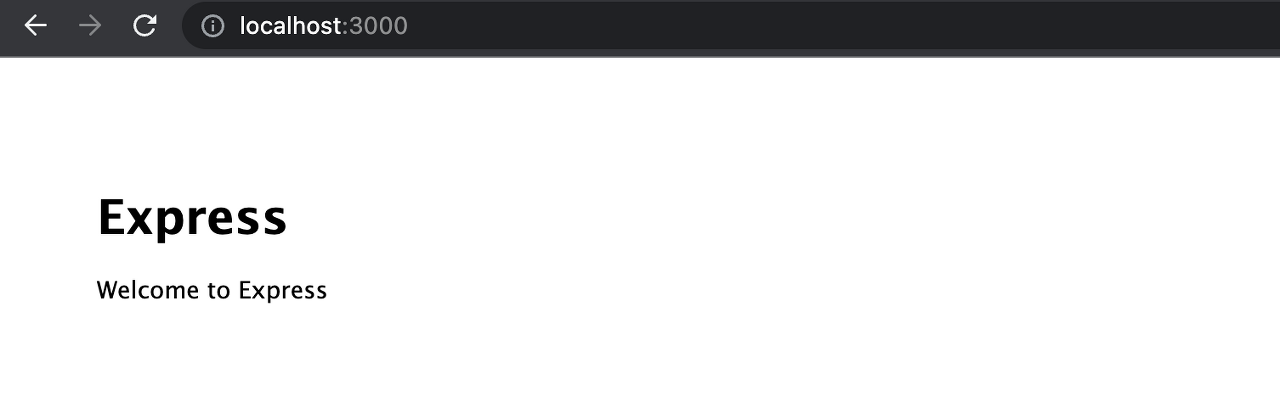
서버를 실행해본다.
1
npm run start
브라우저에 접속해본다. 기본 주소는 localhost:3000 이다.
스크립트 수정시 마다 nodejs 재기동이 번거로우므로 nodemon 을 설치하자.
1
npm i nodemon
package.json 에 아래 부분을 추가한다.
1
2
3
    "scripts": { "start": "node ./bin/www",
                 "dev": "nodemon ./bin/www"
    }
개발 시는 아래 명령어를 통해 nodejs 를 기동하여 사용한다.
1
npm run dev
스마트컨트랙트 작성 및 배포
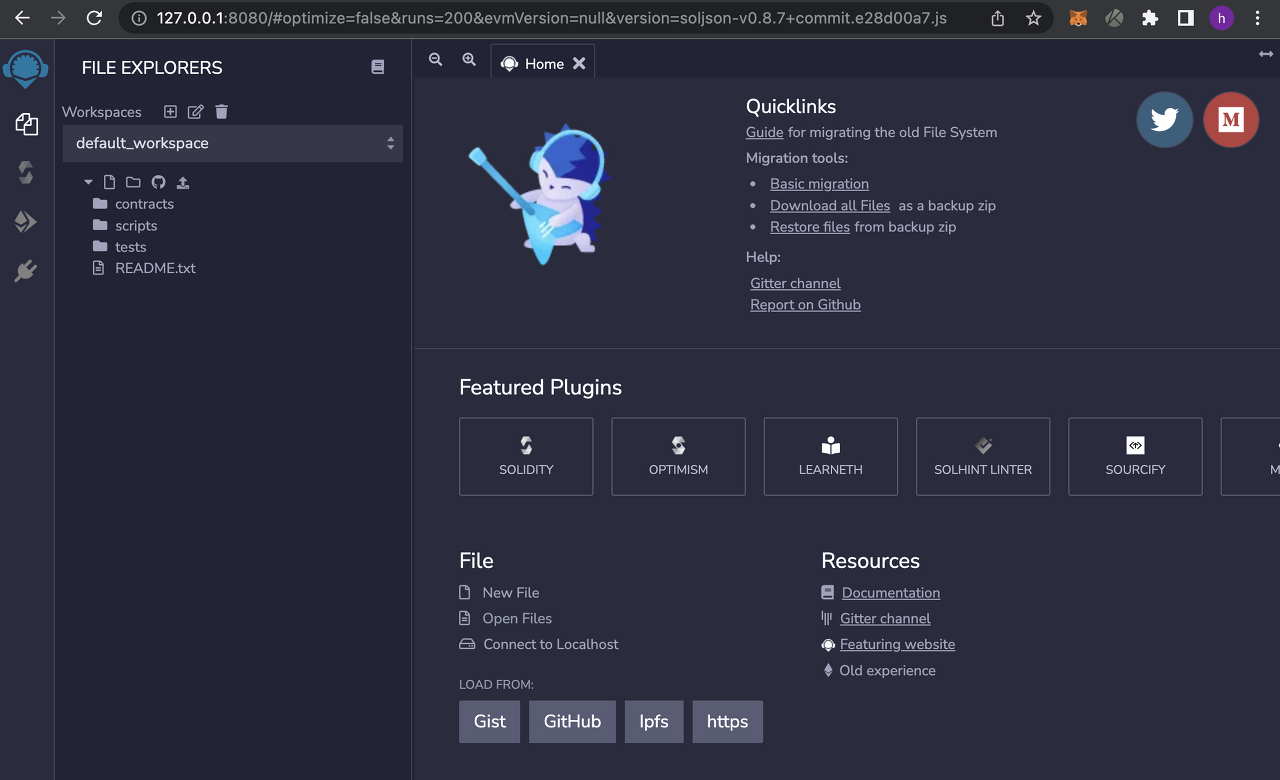
스마트컨트랙트 작성 및 배포는 remix 를 사용한다.
프로젝트 remix 폴더 아래서 실행해준다.
1
2
cd remix
docker-compose up -d
접속은 http://127.0.0.1:8080 으로 할 수 있다.
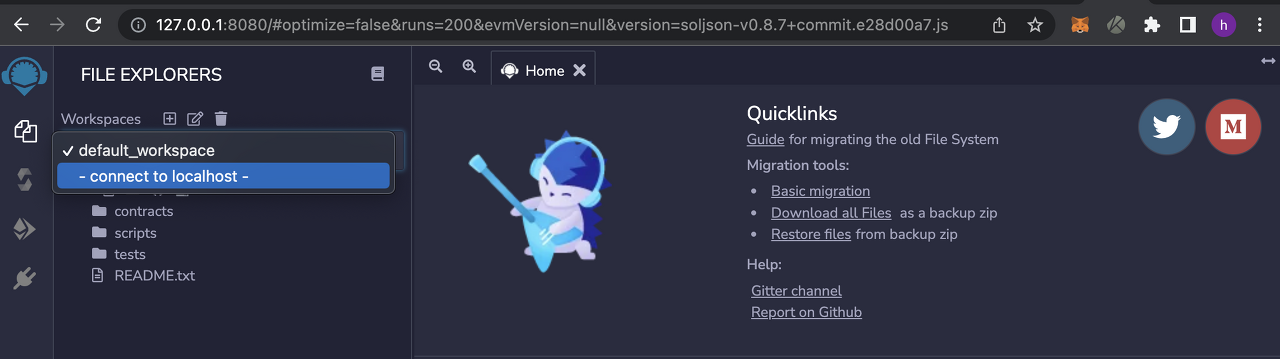
이제 api 서버 내에 workspace 를 생성하고 접속해 보자.
api 폴더 아래 contracts 폴더를 생성한다.
1
2
cd api
mkdir contracts
폴더 아래 컨트랙트 파일을 추가한다. (예: DocumentFactory.sol)
1
2
3
4
5
6
7
8
9
10
11
12
13
14
15
16
17
18
19
20
21
22
23
24
25
26
27
28
29
30
31
32
33
34
35
36
37
38
39
40
41
// SPDX-License-Identifier: GPL-3.0

pragma solidity >=0.7.0 <0.9.0;

/**
 * @title Storage
 * @dev Store & retrieve value in a variable
 */
contract DocumentFactory {

    struct Document {
        string hash;   // short name (up to 32 bytes)
    }

    Document[] public documents;
    string[] public hashArray;

    /**
     * @dev Store value in variable
     * @param hash value to store
     */
    function store(string memory hash) public {
        documents.push(Document(hash));
    }

    /**
     * @dev Return value
     * @return value of 'documents'
     */
    function retrieve() public view returns (Document[] memory){
        return documents;
    }

    function setHash(string memory hash) public {
        hashArray.push(hash);
    }

    function getHash() public view returns(string[] memory) {
        return hashArray;
    }
}
contracts 폴더에서 아래 명령을 실행한다.
1
remixd -s . --remix-ide http://127.0.0.1:8080
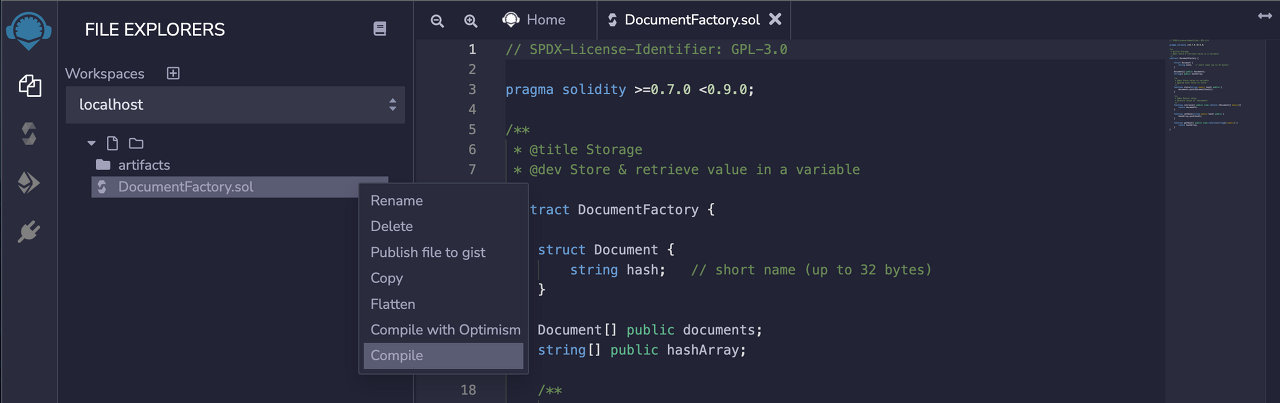
이제 remix 에서 해당 workspace에 접속이 가능하다.
좀 전에 추가한 스마트컨트랙트 파일을 컴파일 해준다.
이제 컴파일 된 스마트컨트랙트를 배포하자.
[ 왼쪽 탭 deploy 를 클릭 > Web3 Provider를 선택 > 설치한 블록체인에 접속 > 계정 선택, GAS LIMIT 설정, Contract 선택 > DEPLOY ]
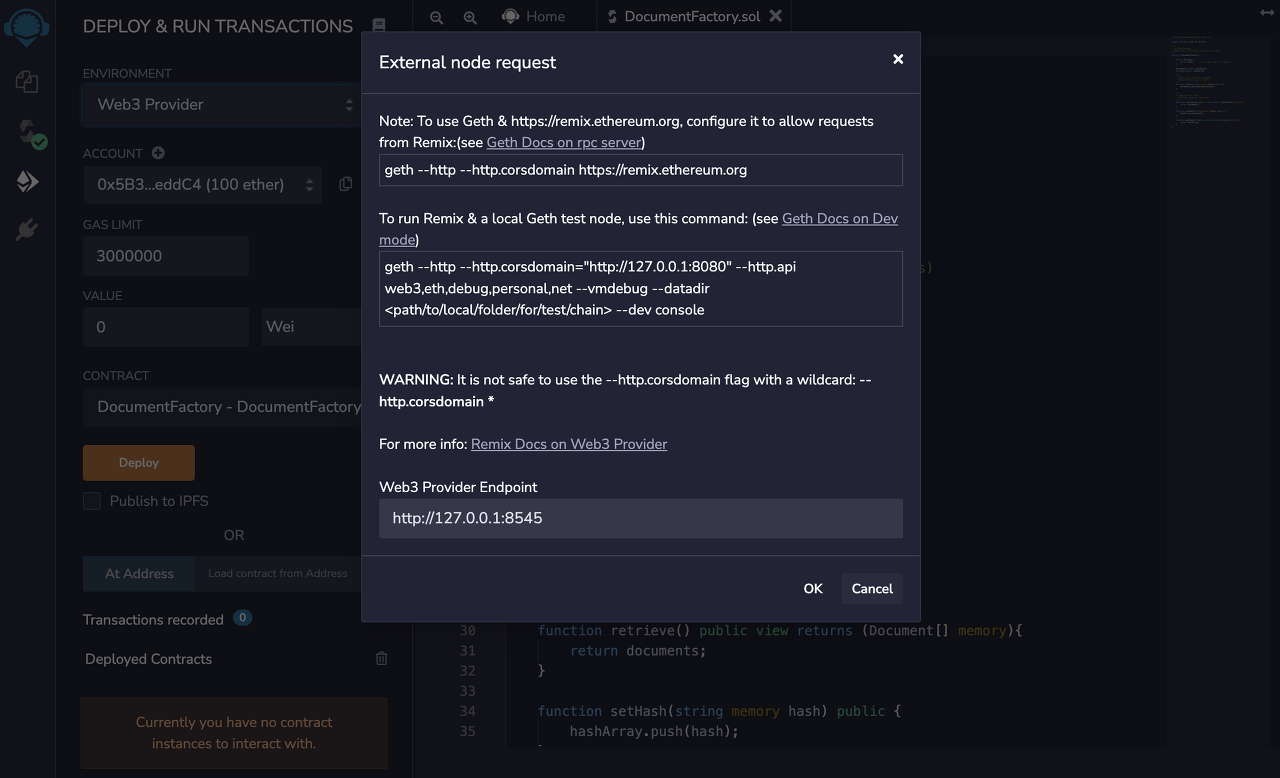
스마트 컨트랙트가 정상 배포된 로그를 하단에서 확인 할 수 있다.

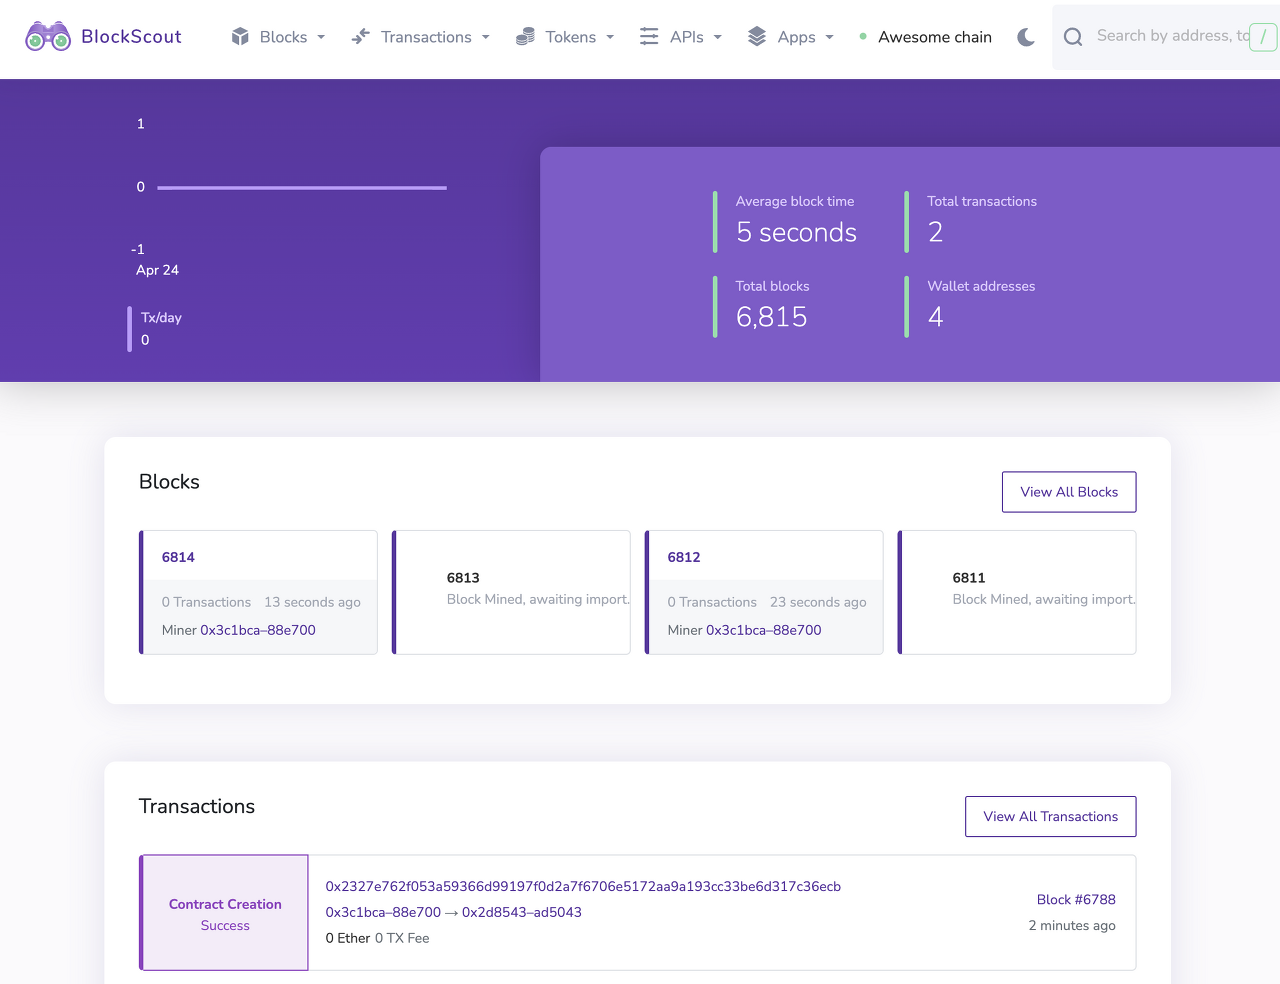
앞서 설치한 blockscout 을 통해 트랜잭션을 확인해 본다. 6788블록에 스마트컨트랙트가 담긴 것을 볼 수 있다.
WEB3 API 서비스 구축
이제 nodejs 서버를 통해 스마트컨트랙트과 통신을 해보자.
먼저 api 서버에 web3 모듈을 설치해준다.
web3
이더리움 블록체인 및 스마트 컨트렉트와 상호 작용하는 데 사용되는 모듈 클래스
1
npm i web3
app.js 에 블록체인 path를 추가해주자.
1
2
3
4
5
6
7
8
9
10
11
12
13
14
15
16
17
18
19
20
21
22
23
24
25
26
27
28
29
30
31
32
33
34
35
36
37
38
39
40
41
42
43
44
 var createError = require('http-errors');
 var express = require('express');

 var path = require('path');
 var cookieParser = require('cookie-parser');
 var logger = require('morgan');

 var indexRouter = require('./routes/index');
 var usersRouter = require('./routes/users');
 var blockRouter = require('./routes/block');

 var app = express();

 // view engine setup
 app.set('views', path.join(\_\_dirname, 'views'));
 app.set('view engine', 'jade');
 app.use(logger('dev'));
 app.use(express.json());
 app.use(express.urlencoded({ extended: false }));
 app.use(cookieParser());
 app.use(express.static(path.join(\_\_dirname, 'public')));
 app.use('/', indexRouter);
 app.use('/users', usersRouter);
 app.use('/block', blockRouter);

 // catch 404 and forward to error handler
 app.use(function(req, res, next) {
    next(createError(404));
 });

 // error handler
 app.use(function(err, req, res, next) {

 // set locals, only providing error in development
 res.locals.message = err.message;
 res.locals.error = req.app.get('env') === 'development' ? err : {};

 // render the error page
 res.status(err.status || 500);
 res.render('error');

 });

 module.exports = app;
routes 폴더 아래 block.js 파일을 추가해준다.
1
2
3
4
5
6
7
8
9
10
var express = require('express');
var router = express.Router();
const Web3 = require('web3');

/* index page */
router.get('/', async function(req, res, next) {
    res.render('index', { title: 'blockchain api' });
});

module.exports = router;
상단에 기본 환경 변수를 설정 해준다.
- ETHEREUM_URL : 설치된 이더리움 URL 주소
- ETHEREUM_ACCOUNT : 사용할 계정 ID
- CONTRACT_ADDR : 사용할 스마트컨트랙트 주소
1
2
3
4
const web3 = new Web3(process.env.ETHEREUM_URL || 'http://localhost:8545');
const default_account = process.env.ETHEREUM_ACCOUNT || '0x7d89dade013f1e8a9b5a22c9cc514d668be5000d';
const contractAddr = process.env.CONTRACT_ADDR || '0x32919F24c5F27c6CF8a8851f0962E81c540984aB';
const DocumentFactory = require('../contracts/artifacts/DocumentFactory.json');
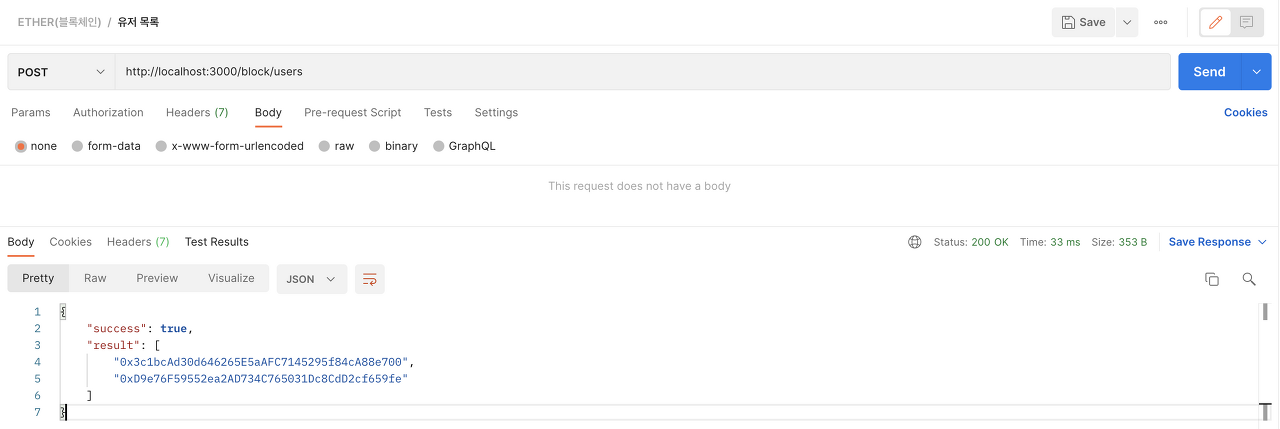
이제 web3를 이용해 서비스를 추가하고 RestAPI 툴을 이용해 호출해보자. 여기서는 RestAPI 툴로 Postman을 사용하였다.
[유저 목록 가져오기]
1
2
3
4
5
6
7
8
9
10
/* 유저 목록 가져오기 */
router.post('/users', async function(req, res, next) {
    try {
        const result = await web3.eth.getAccounts();
        return res.json({ success: true, result: result })
    }catch(e) {
        console.log(e)
        return res.json({ success: false, message: 'fail' })
    }
});
[스마트컨트랙트에 데이터 저장하기]
1
2
3
4
5
6
7
8
9
10
11
12
13
14
15
16
17
18
19
20
21
22
23
24
25
26
27
28
29
30
/* 데이터 저장하기 */
router.post('/saveDocHash', async function(req, res, next) {

    const docHash = req.body.docHash
    if (!docHash) {
        return res.json({ success: false, message: "input value not enough!" })
    }

    try {
        // 기본 계정 설정 및 UnLock
        web3.eth.defaultAccount = default_account;
        // await web3.eth.personal.unlockAccount(default_account, default_pwd, 600).then(console.log('Account unlocked!'));

        // Contract 지정
        var documentFactory = new web3.eth.Contract(DocumentFactory.abi, contractAddr, {
        from: default_account, // default from address
        gasPrice: '20000000000' // default gas price in wei, 20 gwei in this case 20000000000
        });

        // 저장
        const result = await documentFactory.methods.store(docHash).send();
        console.log(result);
        return res.json({ success: true, result: result })

    }catch(e) {
        console.log(e)
        return res.json({ success: false, message: 'fail' })
    }

});
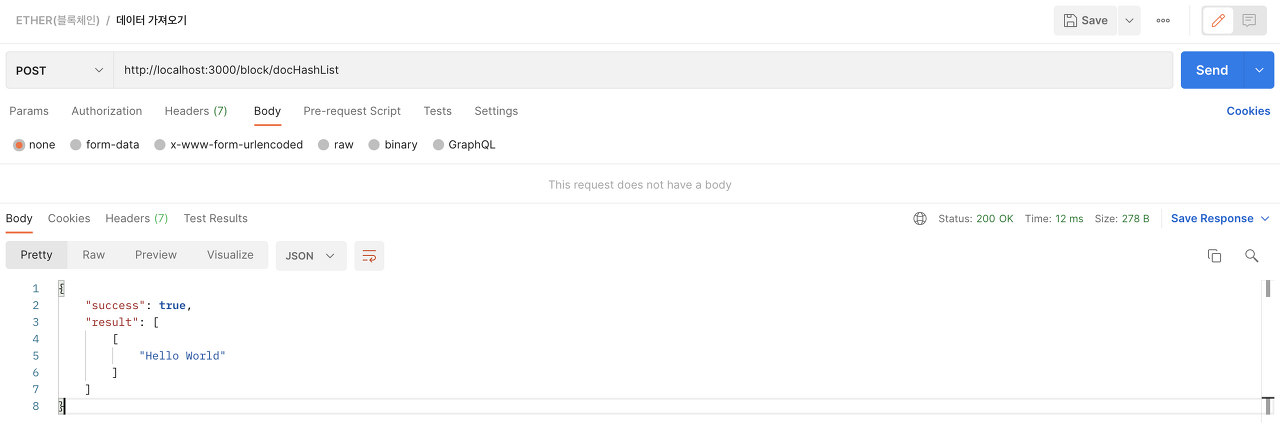
[스마트컨트랙트 데이터 가져오기]
1
2
3
4
5
6
7
8
9
10
11
12
13
14
15
16
17
18
19
/* 데이터 가져오기 */
router.post('/docHashList', async function(req, res, next) {

    try {
        // Set Contract
        var documentFactory = new web3.eth.Contract(DocumentFactory.abi, contractAddr);

        // 불러오기 (불러오기의 경우 계정 설정은 필요없다. 가스 소진 없음)
        const result = await documentFactory.methods.retrieve().call();
        console.log(result);

        return res.json({ success: true, result: result })

    }catch(e) {
        console.log(e)
        return res.json({ success: false, message: 'fail' })
    }

});
API 서버 도커로 배포하기
마지막으로 API 서버도 docker 이미지로 배포하자.
Dockerfile 을 추가해준다.
1
2
3
4
5
6
7
8
9
10
11
FROM node:16

RUN apt-get update || : && apt-get install python -y

WORKDIR /app
COPY package.json /app
RUN npm install
COPY . /app

# 실행 명령어
CMD ["npm", "run", "start"]
docker-compose.yml 파일을 추가해준다.
1
2
3
4
5
6
7
8
9
10
11
12
13
14
15
16
17
version: '3.3'

services:
  geth-api:
    build: # Dockerfile 빌드
      context: ./ # Dockerfile 빌드 경로
    container_name: geth-api # 컨테이너 명
    restart: "on-failure"
    # expose:
    #   - 5000 # 도커 내부적 포트
    ports:
      - 3003:3003
    env_file:
      -  ./common.env
    environment: # 환경변수 설정
      - NODE_ENV=production
      - CHOKIDAR_USEPOLLING=true
common.env 파일에 환경변수를 설정해준다.
1
2
3
4
ETHEREUM_URL=http://192.168.161.25:8545/
ETHEREUM_ACCOUNT=0x3c1bcAd30d646265E5aAFC7145295f84cA88e700
CONTRACT_ADDR=0x2D85432dDD83cbD1BD1dcbA7333A47258AAd5043
PORT=3000
API 서버를 실행해 준다.
1
docker-compose up -d